Showing posts with label brushes. Show all posts

Thursday, December 7, 2017

Etude House "Drawing Eye Brow" #2

Etude House "Drawing Eye Brow" #2

by Rosalie


Hi Lovelies, 
ahen I scroll down my instagram page I see all these amazingly perfect pictures of makeup and beautifull korean models. I am kind of jeallous, I WANNA LOOK LIKE THIS, TOO!!! :D

But I can do what I want my face isn't the most perfect. The worst part of my face is one of my eyebrows, where I have a scar right in the middle. I dont want to overlayer this part but a nice eyebrowpencil would be nice, wich can overline this scar and I am constantly searching for one. To write about this is kind of hard for me, but maybe you also have problem zones in your face and I want you to not feel alone! ;)


I choosed the colour #02


But this is only a sidestory, in general I wanted to write about a eyebrowpencil in this blpogpost. About my first eyebrowpencil from my favourite korean brand, Etude House. *__*

BRAND: ETUDE HOUSE

PRICE: $3,60


TYPE OF PRODUCT: EYEBROW PENCIL 

You can get this product in 7 different colours wich is kind of amazing! There are really dark colours, but also yellowish colours for people wich want to have blond eyebrows. I have chosen a ash brown like colour. I don't like to have super dark eyebrows but filling in my brows a bit makes me look much more fresh. So this colour was kind of a good oportunity for me.

triangular shape of the pencil

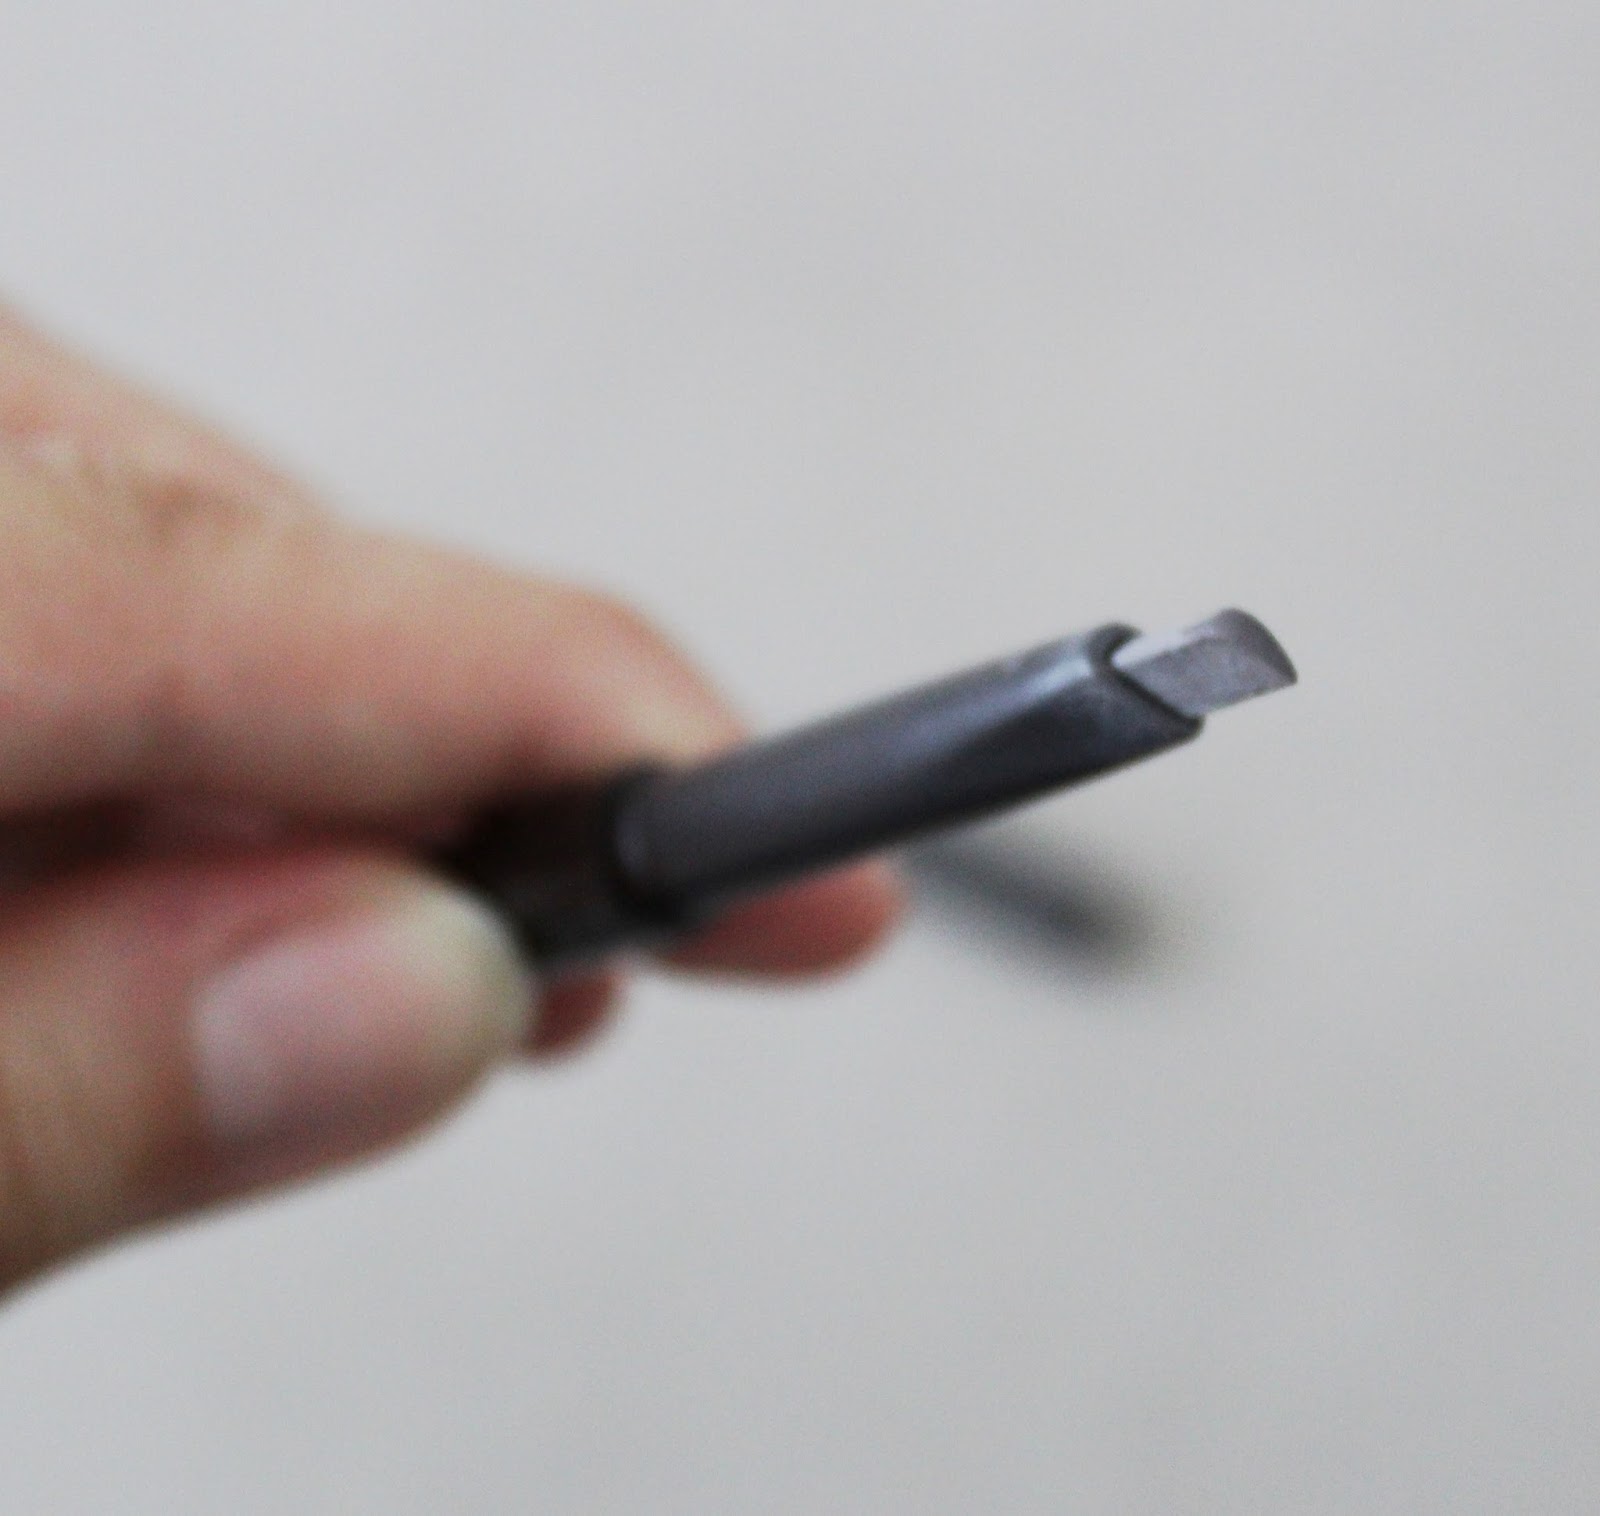
because of the shape the pencil can draw thin and thick lines


two different sides, the pencil and the brush


The product came with the pencil itself and a brush, to soften the lines in the eyebrow. I always like product types wich has the full equipment on itself to apply it and use it in the best way. So in this situation I mean you can apply the product itself and also brush it off.

The pencil itself is really thin, wich makes is easy for me to apply it. In a stressfull morning there is nothing more nerve wrecking for me to sharpen all my pencil. But I can only twirl and there is more thin pencil product, yeii! <3

The product is nicely pigmented but not to soft in drawing. (I think a eyebrowpencil must be a bit harder than a normal eyeliner.) So if you only want to colour your brows a bit it is really easy. 

But I also have to say that this product is not waterproof. On my brows the product stayes the whole day, but I only wanted to take your attention to this point! ;) But because of this it is easy to remove with normal make up remover.

 In the following you can see the pencil lines on my hand and on my brows:

thin and thick lines

blended lines

left: without any product, right: with the eyebrowpencil and blended
 

All in all I really like this product. As you may can see in the swatches the pencil doesn't draw on my scar skin, but thats just as every eyebrowpencil workes on this park. It took on the color a bit but not like the other skin take the colour on. :( (But I guess there aren't so many people who have the same problem as I have though, so this might not be a big deal for you!) <3


Do you also have problems with scar skin and the coverage of makeup on it? Please let me know, also if you have some hacks how to work in this skin, feel free to share! ;) (But it is also ok if you just wanna share your problem zones with me and we can be unhappy about them together! haha)

I hope this review was helpfull for you. If you have some questions please feel free to ask! ;)


To stay updated about our blog please follow us on facebook and twitter ! <3333 That would make us really happy!


Thursday, June 8, 2017

Etude House "Pink Showroom Customizing Palette"

Etude House "Pink Showroom Customizing Palette"

by Rosalie


Hi Lovelies,
I love to collect things. Not all things, but all the things I like, why not collecting them?
Yep, that really can be a problem! :D
I also collect eyeshadows, these small containers. As I tried to reorganize my make up desk I realized that I started to build high towers with all these small eyeshadow containers. I searched for something to put all of them in, a palette or something, but all palettes that Etude House had were to small or to big for the number of eyeshadows I had.
And out of nowhere Etude House came out with a new palette, where you can put in your play 101 eyeshadows AND the dear my enamel eyes talk things plus a blusher. Amazing! ok, I don't have a blusher for this size but well, I thought it will be so nice to have all of these things organized in one, to be able to use them together and don't always bring ton's of these small containers.

So I decided to buy this "Pink Show Room Customizing Palette". *__*


BRAND: ETUDE HOUSE

PRIZE: $ 14.40


The palette came with a mixing palette, a double side brush and small magnets (that I couldn't find anymore haha, sry! But I don't needed them anyway!)

Here you can see the already filled palette.
The colourfull layer is in holographic optic, I guess because it's the trend these days. I would have prefered an other option, like a uni colored one, but anyways, this makes the palette really interesting.

I haven't used the brush so far because I am afraid to make it dirty (like I am with all brushes and make up things in the beginning! :D ) and I really don't know how I would ever use the mixing palette, but maybe time comes by and I need it! We will see...

In generall, all my eyeshadows are together in this palette, I am so happy! <3


This is the mixing palette...


...and this is the brush.


Now I will show you how you can put out the eyeshadow of the original small container, to put it into the palette.


 I have one enamel eyes talk left, so let me show you with this how it will work...


You need your container of course and a thin needle or a pin. After putting it out, the left overs will look like this.


 Can you see the hole? You have to stick in the needle to push out the eyeshadow.


Just push and it will come out easily.


This eyeshadow is supposed to sit in one of the upper howles. So you can combine your palette new how often you want. Seriously, I think it really was fun to see how well the colors match together.

It really makes it more easy to use the eyeshadows at once. I am so happy that I have bought this palette.

So if you are like me and have loooot's of these small container's I simply recommend you to buy a palette, too, because they are really handy.

Please let me know if you ahve problems with all these small container's, too.

I hope this review was fun and helpfull for you! ;)

I also would be really happy if you follow us on facebook and twitter to never leaf a new review out! <33


Tuesday, March 28, 2017

The Face Shop "Coral Cushion Blusher" #2_coral_cushion

The Face Shop "Coral Cushion Blusher" #2_coral_cushion

by Rosalie


Hi Lovelies,
in Germany, spring is comming back and I am really enjoying it! *__*
So just to let you know but I am able to write this blogpost outdoor! <33333 like heaven!

Anyway, I want to review this cute blusher from the korean brand "the Face Shop".
I was searching for a nice blusher, wich isn't to much pigmented and has a everyday like colour. So  found this product and have choosen this #2 coral colour out of 5.


BRAND: THE FACE SHOP

TYPE OF PRODUCT: BLUSHER

COLOUR: #2 CORAL (OUT OF 5)

PRICE: $9


I am not so sure where I original have bought this product, but I am sure, that I have payed less than $9, that's only the price I found...

I think its pretty cute that they have a different design for each color. Plus the applicator is adorable, that was a reason for me to choose this product, because I like products wich contains the applicator. 

In the following pictures you can see how the product looks like:


The product is smaller than I have expected it. It is really tiny. But that isn't something bad, because I can take it with me for traveling easily. The packaging is out of paper (what????? At the beginning I was a bit confused about this...) and it hasn't a mirror inside.


clean applicator


The blusher is in general pressed powder and a very light colour. I think it isn't the most pigmented product ever but as I mentioned in the beginning, I was searching for a less pigmented one. I think it is easier to apply and not to look like a clown after doing my makeup! haha!!!


It really is a great coral like colour. Applying the product is really easy with the applicator so I have no problems with that.


used applicator

I hope you can see a bit of the colour around my cheek area! <3


advantages

 -cute and less pigmented colour (what I was searching for)
-easy to apply
-cute and individual packaging for every colour
-5 colours to choose from
-tiny size
-contain a applicator


disadvantages

-no mirror
-paper packaging (I am not sure about that because it wasn't bad for me until now but I think if something liquid rins of in your makeupback this will be something bad...)


Anyway, I really like this blusher and use it nearly every day. I think this colour is just perfect for me, but for someone with darker skin I think you might not see the colour...


So I hope this review is helpfull for you. I really like this concealer and use it quite often.

I also would be really happy if you follow us on facebook and twitter to never leaf a new review out! <33

Saturday, January 7, 2017

Innisfree "auto eyebrow pencil" #ash_brown, #gray, #espresso_brown

Innisfree "auto eyebrow pencil" #ash_brown, #gray, #espresso_brown

by Rosalie


Hi everyone,
today (finally) I want to write about one of my absolutely favourite products lately: it's the "auto eyebrow pencil" from the korean brand INNISFREE.

Before around 2 years I was of the opinion that doing the eyebrowns looks to bold and unnatural in your face. Just as you have something laying on your face that shouldn't be there! :D strange!!!

But after I watched the INNISFREE beauty dramas (reviews: 

Sweet 20's, beauty drama review
Beautoligy, beauty drama review

) I was kind of in the mood to try some of the product's I have seen in the dramas. So I decided to try out the eyebrow pencil. I loved how natural and beautyfull the girl's eyebrows looked. :3


Anyway, now let me tell you some details about the product:


BRAND: INNISFREE

TYPE OF PRODUCT: EYEBROW PENCIL

7 COLOURS AVAILABLE

PRICE: AROUND $5


I bought the product from Jolse (LINK: http://jolse.com/product/innisfree-auto-eyebrow-pencil-03g/) in 3 colors: #ash brown, #espresso brown, #gray 

Here you can see the full color system:

They really made many colour's, some cold and warm and also light ones. So even if you have light eyebrow's you may find a color that you like.


The product itself came with the pencil side and with the brush side, wich is quite handy, because with this it is really easy to manage your eyebrow hair! :D


To get this kind of pigmented color (in the swatch) I had to use some strength on the pencils. Normally they are more from the hard consistency, so if you apply it onto your eyebrows there isn't a big bold line of color. Also because of this oval shape it is really easy to apply the product and my browns look's still natural! <33

Here you can see the 3 color's on my eyebrows:

 I think that there isn't suuuuch a big difference between these 3 colors. (So it may wasn't necessary to make such a big color palette to choose from. This is sometimes really hard for me to choose a colour and in the end they all look alike :D)

But anyway, I like every colour and I love the product itself absolutely! It really gives me the posibillity to draw my brows (becausse they get much lighter after applying my base makeup, so drawing them is neccessary!!) and still have a natural look. 


I hope this review was helpfull for you and please leaf a comment if you have a question (or if you wanna tell us something!<3)!
We would be really happy if you'll follow us on facebook and twitter to never leaf out a new review! :3


Saturday, December 17, 2016

DIY Make Up Brush Cleansing - Easy And Fast

 DIY Make Up Brush Cleansing - Easy And Fast

by Rosalie


Hi my lovelies,
today the weather is really bad and I don't wanna go out! :(
But in times like this we can do things we don't have the time for when we go out and enjoy nature.
For me it's time to clean my brushes, wanna join me??

All you need:
-some dirty make up brushes (of course!) :D
-baby shampoo (around 3 €, from a drugstore nearby)
-clean towel
-water
-good music in the background (for me it's got7's album "turbulence", like cleaning is a HARD CARRY, HEIII!! ) 😊


Let's start!!


First grab all your brushes you wanna get cleaned. I think clean these brushes is necessary from time to time. I don't really have the time to clean them every day. But if you never get them clean you don't have to wonder why you get acne on your skin!! Because there are so many bacteria in these brushes, lying down somewhere with lot's of make up in and always touching your face again and again. Like collecting all bacteria out there in the world! :D


Another reason for cleaning brushes from time to time: this is one of my eyeshadow brushes. If they are constantly dirty the light colors can't show of on your eyes as they are supposed to. To it's also important for a flawless make up look to have clean brushes.


So grab your brushes and wet them! :3


Then apply baby shampoo onto your hand or a cleansing tool you can buy at a drugstore (I also have one but can't find it right now!) Baby shampoo is withour perfume and gives a neutral ph level, so it's much better than regular shampoo, because it can have alcohol in it, too. But baby shampoo is for suuuuuper sensitive skin. (Plus having a bottle of baby shampoo around can be really handy, just in case you forgot to buy new shampoo! :D)


Now begin moving the brush on your hand until there are many bubble's and you can see the color came out of the brush. You can continue this step as long as there doesn't came any color out of the brush. But when you do it regulary, your brushes will be easier cleaned because they are already cleaner from the start.


Now rinse the bubbles of with much water...


and put them on a clean towel.


Don't rub the brushes hardly on the towel, because they can take much damage this way. Just gently grab the brush into the towel with your hand and open it up again as you can see on the pictures.


Then you should get the brushes in their normal shape. You can form this shape with a cleansing tool I mentioned earlier or with your fingers.


So now we are DONE!!!
Lay the brushes somewhere to let them dry and on the next day when I need them again they are as good as new! <33

I hope you enjoyed this little cleansing make up brushes together with me. I did. <3

Please also follow us on facebook and twitter to get notification about new blogpost's!

If you also have some nice hacks for cleansing make up brushes you are welcome to share them with me and everyone who read this post! <33